How to Change a Flat Tire in 10 Simple Steps
A flat tire can happen when you least expect it (on your way to work, while running errands, or driving to an event) and can be a major headache, especially if you have to wait for a tow. Knowing how to properly change a flat tire can get you back on the road quickly, even saving you time and money in the process. Keep reading to learn how to change a flat tire through these 10 simple steps!
1. Park Your Car on a Flat Surface
When changing a tire, it is important to ensure your car is parked on a flat surface. If you get a flat while driving, be sure to park your car as far away from traffic and on flat a surface as possible. Use your hazard lights to increase visibility and ensure your safety.
2. Take Out Your Spare Tire, Jack, and Lug Wrench
These tools should always be in your car to help when you need to change a tire. They are typically found under the floor mat or latch in the trunk of your car.
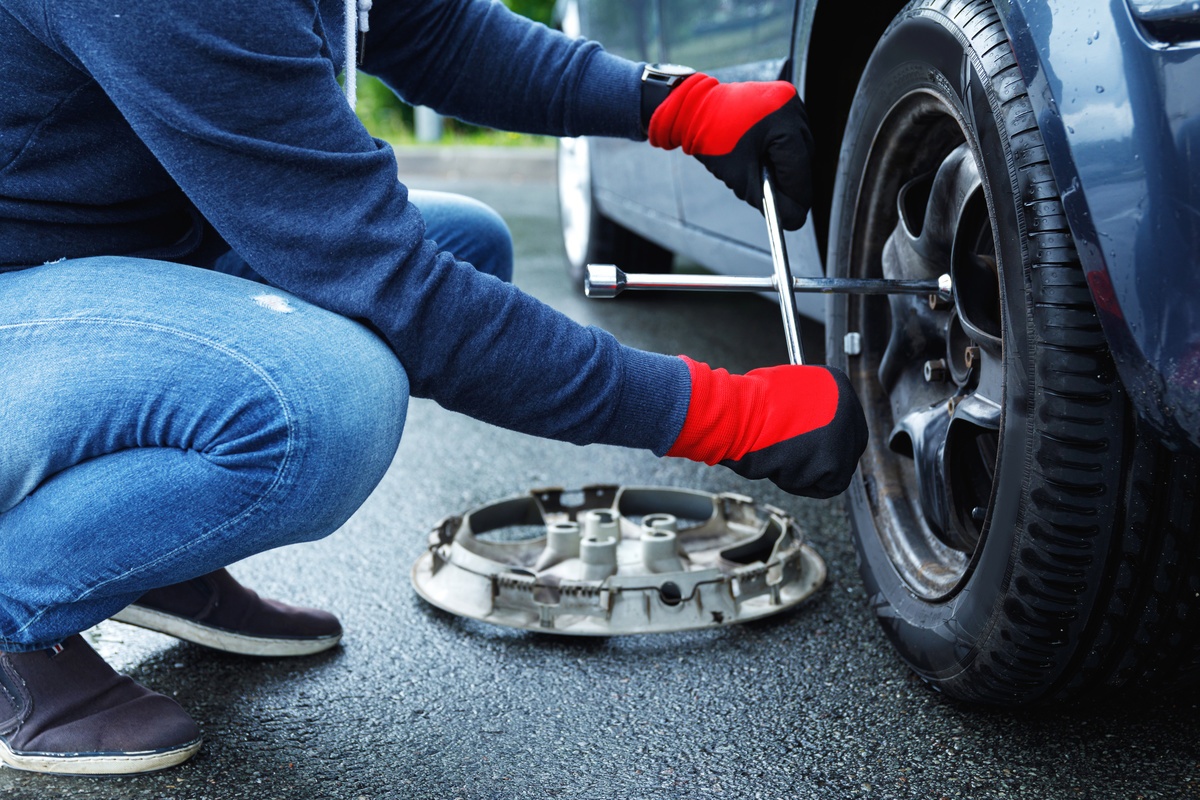
3. Loosen the Lug Nuts on the Flat Tire
Secure the wrench onto a lug nut and turn it counterclockwise to loosen. Repeat the process with each lug nut, then further loosen by hand.
4. Raise Your Car Off the Ground
Place the jack under the metal part of your vehicle’s frame. Consult your owner’s manual to ensure you position the jack in the best place for your specific vehicle. Once properly placed, use the jack to raise the tire off the ground.
5. Remove Lug Nuts and Flat Tire
Turn the lug nuts counterclockwise and remove them altogether. Then remove the flat tire by pulling it directly toward your body.
6. Place the Spare
Place the spare tire on the wheelbase, aligning its holes with the lug nut posts. Push the tire as far as possible.
7. Replace the Lug Nuts
Put back the lug nuts back in their respective places and use your hand to start tightening.
8. Lower the Jack Until the Tire Touches the Ground
Slowly and securely, lower your car using the jack until the spare tire just touches the ground.
9. Use the Wrench to Finish Tightening the Lug Nuts
Once the spare tire is touching the ground, use the wrench to further tighten the lug nuts. Tighten the lug nuts bit by bit as you alternate every other nut to keep the tire straight.
10. Lower Your Car Completely
Once the lug nuts are equally tightened, lower your car completely and remove the jack. Further tighten the lug nuts in the same order until they no longer move. After successfully placing the spare, bring your car to the nearest auto repair shop to repair and replace your flat tire. To learn more about our tire repair services at Custom Complete Automotive, contact us today!
Find an Auto Repair Shop Near You
We have multiple auto repair shops throughout Missouri located in Columbia, Jefferson City, and St. Louis.
Eric Riddles is an ASE Certified Master Automobile Technician who has been working as an auto mechanic since 1998 and originally joined the team at Custom Complete Automotive in 2005. Eric has numerous certifications in various aspects of car repair and spent 10 years training the next generation of auto technicians at a local high school Auto Shop classroom.


